
Your cart is currently empty!
How to Grow Autoflowers Indoors: A Beginner’s Guide
—
article in Grow Guides
Learning how to grow autoflowers indoors is one of the easiest ways to begin cultivating cannabis. Autoflowers are fast, stay compact, and forgive many of the small mistakes that trip up first-time growers. If you’ve never grown indoors before, this is a good place to start.
This guide walks you through a complete indoor grow cycle — from setting up your space to drying and curing your harvest. It isn’t an encyclopedia, and it won’t drown you in numbers. The goal is to give you a clear foundation that gets you from seed to jar with confidence.
Why Autoflowers Are Beginner-Friendly
Indoors, photoperiod plants typically begin flowering when you switch them to a schedule with about 12 hours of uninterrupted darkness each day. Autoflowers don’t wait for that signal — they flower according to their own internal clock, usually about three to four weeks after sprouting, regardless of the light schedule.
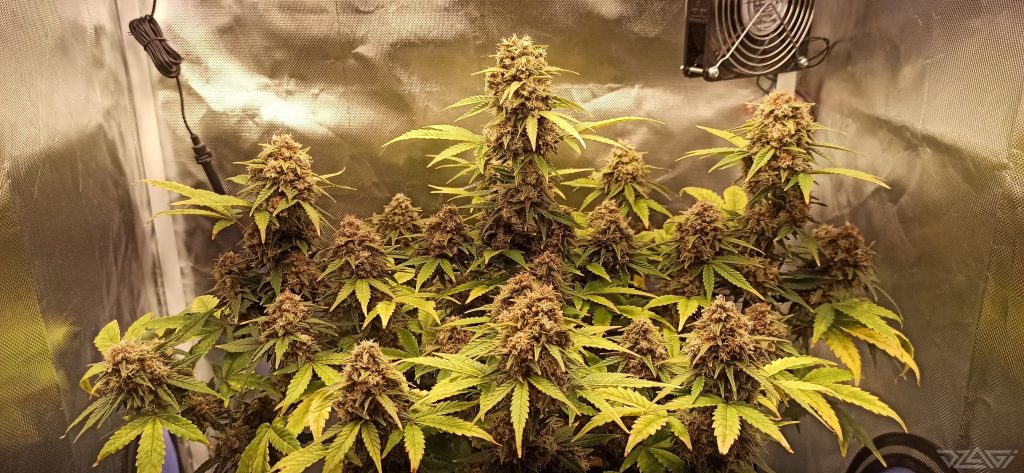
That one trait changes everything indoors. The full cycle often finishes within roughly 8–12 weeks, depending on genetics and conditions. The plants usually stay short enough for a closet or small tent. And because they aren’t tied to a flowering light schedule, you can keep them under long days throughout the grow and even run plants of different ages in the same space. As Sasha Przytyk, better known as Joint Doctor, points out, an autoflower can complete its cycle under anywhere from 12 to 24 hours of light. Most growers settle on 18 hours on and 6 hours off.
Set Up Your Space Before You Plant
Almost any modern grow tent works for autoflowers. What matters is maintaining steady conditions from start to finish. Get four things right, and you’re most of the way there: strong light, fresh-air exchange, gentle air movement inside, and stable temperature and humidity. A simple timer handles the light schedule for you.
Light is the one place where you shouldn’t cut corners. Great soil and expensive nutrients can’t make up for a weak lamp. A full-spectrum LED designed for the complete grow cycle is a simple, efficient choice — size it for the footprint of your tent, not the number of plants.
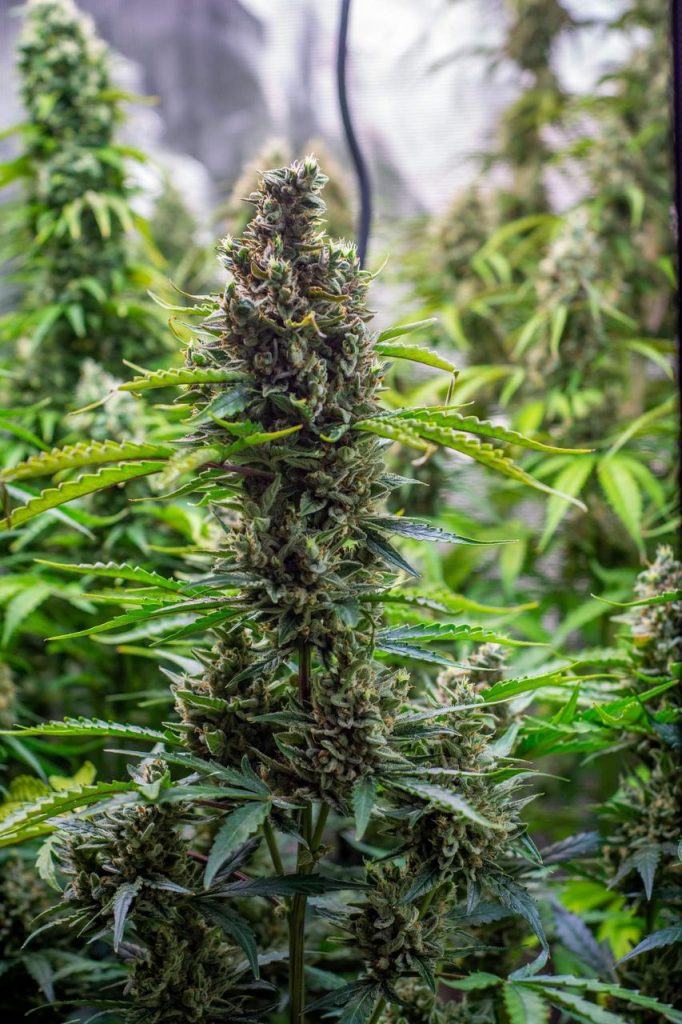
On odor: no cannabis genetics are truly odorless, especially during late flowering, drying, and trimming. Some Doctor’s Choice strains are bred to be discreet — Niagara, in particular, was developed with low-key, stealthy grows in mind — but if controlling odor matters to you, use a carbon filter. It remains the most reliable option.
One more thing new growers often get wrong: don’t overcrowd the space. One healthy plant with room to breathe beats a tent packed with cramped plants every time. Give yourself space on your first run.
Pots and Soil
For a first grow, keep it simple: use a quality cannabis potting mix in a fabric or plastic pot. Good soil comes with a starter charge of nutrients and is far more forgiving of beginner mistakes than coco or hydro, which demand more frequent attention.
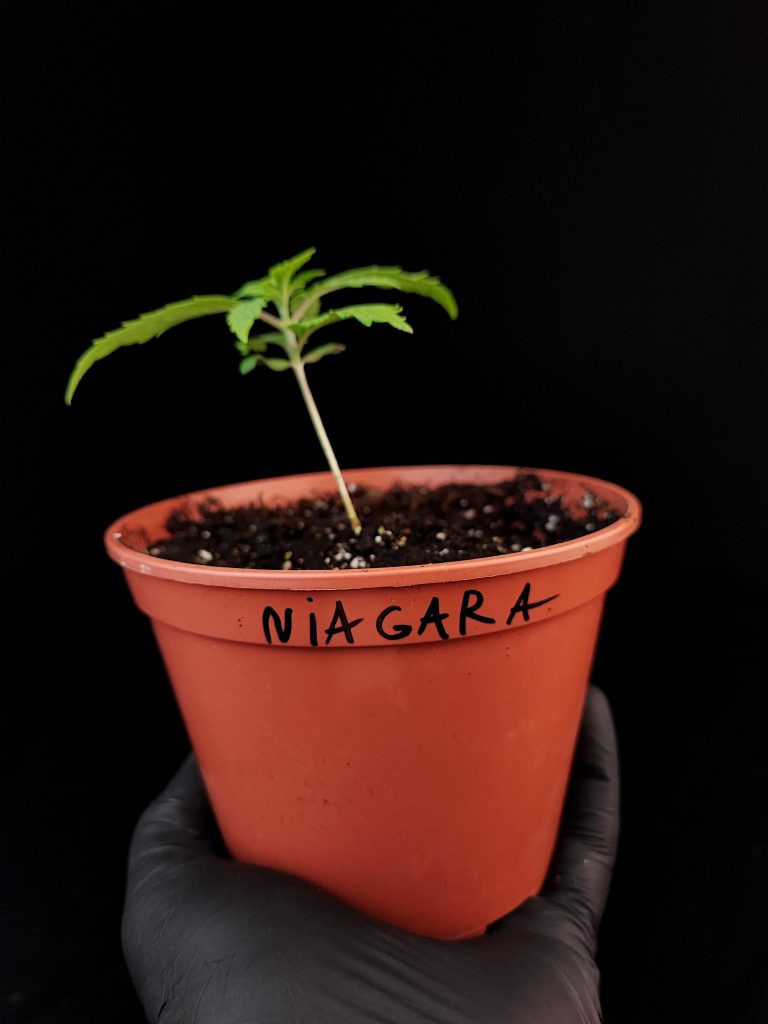
Plant directly into the final pot. Autoflowers have a very short vegetative stage, so transplanting can stress them at the exact time when they should be building mass. A 10–15-liter pot suits most modern autoflowers. Look for a light, airy mix — add 20–30% perlite if it feels dense — and make sure the pot drains freely. Standing water is far more dangerous to roots than allowing the mix to dry slightly.
Water and Feeding
Water is how the plant takes up nutrients, so it matters as much as what you feed. In soil, aim for a pH of roughly 6.2–6.8 — a reliable basic pH meter is one of the best tools you can buy.
You don’t need a shelf full of bottles. A basic Grow formula for the early stretch and a Bloom formula for flowering can cover the whole cycle. CalMag or a PK booster may help in specific situations, but neither is essential for every first grow.
The golden rule from Joint Doctor: autoflowers suffer from overfeeding far more often than from mild underfeeding. If the plant looks healthy, resist the urge to increase the dose.
Germination
Pick one method and stick with it — paper towel, directly in soil, or whatever you’re comfortable with. Keep the seed warm at around 24–26°C and moist but never soaked, and don’t keep poking at it. Fresh, high-quality seeds often crack within 2–5 days. Plant the sprout as soon as a small white taproot appears, before it becomes long and fragile.
The First 3–4 Weeks Decide Everything
This is the part to remember. Because an autoflower typically starts flowering on its own after three to four weeks, those first weeks are its only window for building size. There’s no do-over — unlike with a photoperiod plant, you can’t extend the vegetative stage to make up for lost time. A setback now costs far more than a setback later.
The good news is that the plant mostly wants to be left alone. Four habits carry you through:
- Don’t overwater. A small plant can’t drink much. Wait until the top of the soil dries and the pot feels light instead of splashing in a little water every day.
- Don’t overfeed. A lightly fertilized mix often carries a young plant through the first couple of weeks with no extra nutrients at all.
- Don’t pile on stress. Transplanting, heavy pruning, heat spikes — anything that slows growth at this stage is difficult to recover from.
- Do keep conditions steady. Provide enough light, comfortable temperatures, good airflow, and moderate watering. Sometimes the best care is simply not getting in the way.
If you want a fuller, more even canopy, this is also when to try LST (low-stress training) — gently bending the main stem down and tying it in place so light reaches the lower shoots. Start once the plant has 4–5 nodes, bend slowly, and do it just before watering when the stems are most flexible.
Flowering
Around week four, you’ll see white pistils at the nodes — flowering has begun. Don’t panic when the plant suddenly shoots up: this “stretch” may nearly double its height over a week or two while the plant builds the framework for its buds. Judge its final size after the stretch, not before.
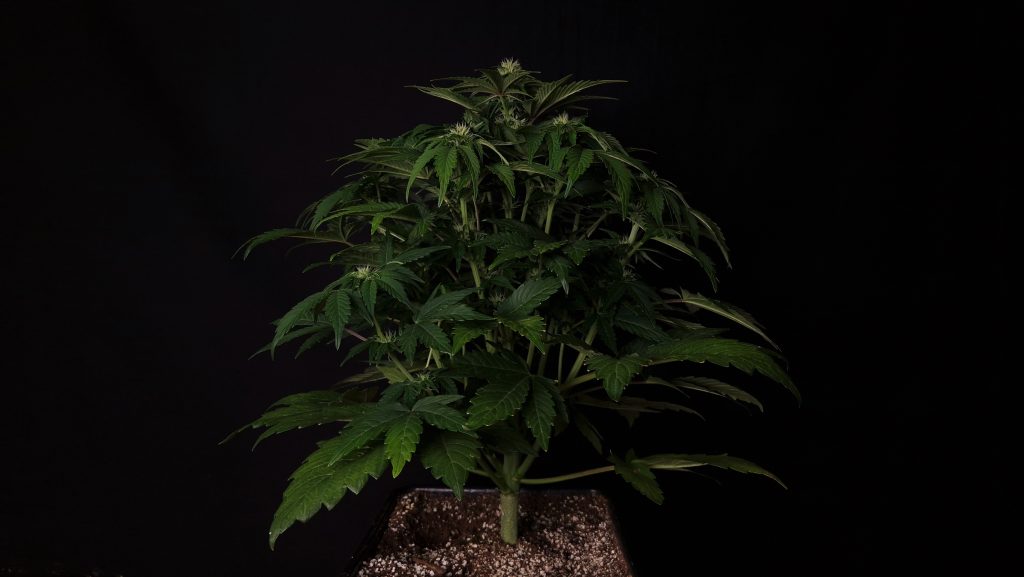
As flowering progresses, ease off the Grow formula and transition to Bloom over several waterings rather than all at once, following the nutrient manufacturer’s directions. Keep everything else steady, and lower the humidity as the buds fatten. Dense flowers and damp air create ideal conditions for mold, so keep the exhaust running.
Harvest: Read the Plant, Not the Calendar
Even two plants of the same strain can finish several days apart, so the calendar is only a rough guide. Watch the plant instead. It is approaching harvest when most pistils have darkened and curled inward, the buds have firmed up, and the fan leaves may begin to yellow.
For a precise call, look at the trichomes with a loupe or pocket scope:
- Clear — the trichomes are still maturing, so give them time.
- Cloudy (milky) — commonly treated as a sign that the plant is approaching maturity. This is a common harvest window.
- Amber — a more relaxing, mellow finish as the plant winds down.
Worth knowing: trichome appearance helps you estimate maturity, not potency. You can’t determine the strength of your harvest by counting how many trichome heads have turned amber. If circumstances force you to harvest a few days early, don’t panic. Genetics, growing conditions, harvest timing, drying, and curing all shape the final result.
Drying and Curing
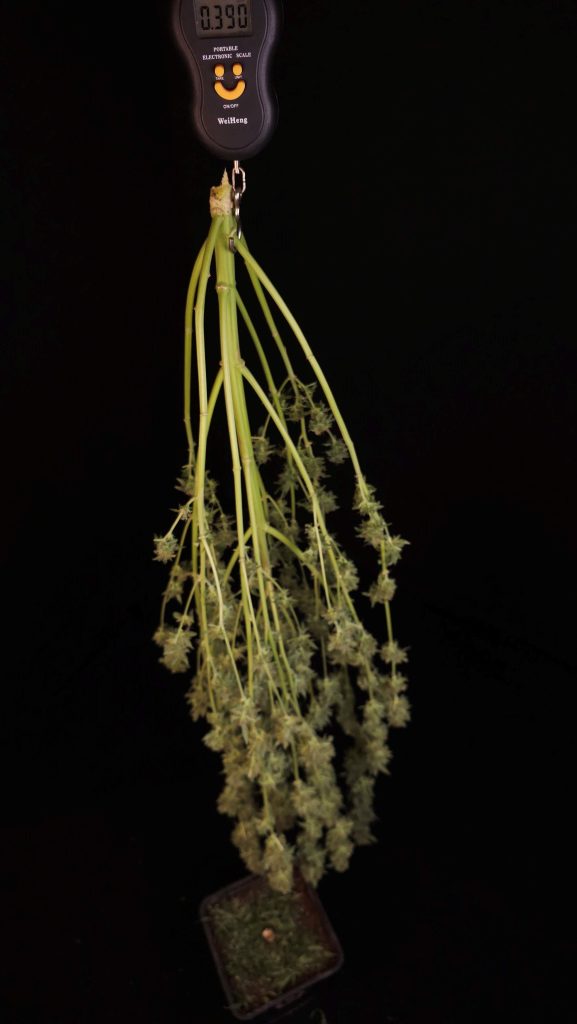
Harvest is only half the job. A good dry and cure are what unlock the aroma, flavor, and full character of your buds. Hang your plants somewhere dark with good air circulation — but no fan blowing directly on the flowers — at around 18–22°C and 55–60% humidity. Drying usually takes 7–14 days. Once the small stems snap rather than bend, move the buds into sealed glass jars to cure.
The One Idea to Take With You
Growing autoflowers isn’t a stack of complicated rules. It’s a series of simple things done at the right time: prepare everything before you plant, maintain steady conditions, and watch the plant closely at each stage.
Or, as Joint Doctor puts it: your job as a grower isn’t to force the plant to grow better — it’s to avoid getting in its way.
Start with stable, honest genetics, and the rest gets a lot easier. Browse the autoflower collection at doctorschoice.farm, pick a strain that fits your space, and grow your first cycle with confidence.